Showing posts with label my diy. Show all posts

Wednesday, February 6, 2013

Love garland - DIY Valentine's Day decor

As I mentioned in my last post, I had a bit of free time today so I decided to make something that would put us into a Valentine's Day mood. I never decorated for this holiday before, but this year I just felt like doing something simple and symbolic. For starters - I made two garlands for our bedroom. One hangs above the fire place and the other on our headboard.  

Materials I used:
1) felt
2) paper
3) scissors + pencil
4) sewing machine
5) twine 


I love sewing with paper and now am big fan of freehand sewing :)

Friday, January 25, 2013

Mason Jars Pendant Lights DIY Part1

Last Saturday me and my girls had a good time sitting at home, making beautiful things and eating delicious foods..and of coarse talking lots.

As I was planning, I made (almost) my Mason Jars Pendant light for our bedroom to be. It was actually pretty quick and easy DIY project. I kinda felt sad that I was done faster than anyone and felt the need to make something else. Since I didn't bring anything else with me I helped one of the ladies with her first craft project, so that satisfied my itch lol
You can check out my inspiration and reference picture here.
The materials I used:
1) 2 Mason Jars with lids (Michales)
2) hot glue gun
3) pendant lights wire kit (ikea)
4) rope (lowes)
5) sharpie to mark the lid (husband cut the holes at work)


The result:


I'm happy with the way they turned out, the only problem I have is the color of the wire. Not sure why I bought black instead of white. Either way I'm thinking to cover the wire with similar rope (more like thread) to match the "lamp shade". Just have to figure out how to do it safe, because the part that holds the bulb will have to be covered as well and I'm sure it gets hot. If you got any ideas for me, it would be lovely if you'd share them in the comments.

Hope your week was great!

Friday, December 21, 2012

How to turn "white" Christmas lights different color temporarily

And so back to decorating our home (yep...we are JUST putting some lights up and the tree) <- we are bad! haha!
Here you can look at my mood board for this Christmas decor idea. To re-fresh your memory - I called it lemon-lime winter. I'm using yellow, green and white color scheme. Today I accomplished: 
a) made salt dough ornaments in lemon/lime shapes 
b) painted them
c) changed colors of lights
d) put our fake tree up 
e) and few lights in the kitchen. 
Tree still needs the topper and fireplace few details, but I'll continue tomorrow.
For now I will share a quick tip of how to change those boring "white" or "yellowish" Christmas lights (that you've been using every year and now you are tired of them and your soul craves some pops of colors) into a different color temporarily, just so it will suit your color scheme you are working with this year.
All you need is:
1) your lights
2) Scotch tape
3) acrylic paint (+brush)
4) patience :)


Acrylic paint dries fast, scotch tape is easy to remove when you are done with your lights. Either keep it for next year, get rid of the painted tape and use regular lights or change colors again for the next year's color scheme. I'm happy the way my lights turned out. For this project I spent ZERO dollars...which makes me even happier :D

What do you think? Have other idea on how to change colors of your Xmas lights for one season? Please share!

Thursday, November 29, 2012

Yarn mobile - repost

Here's another repost from my old blog. Chubby preggo pics alert ;) 
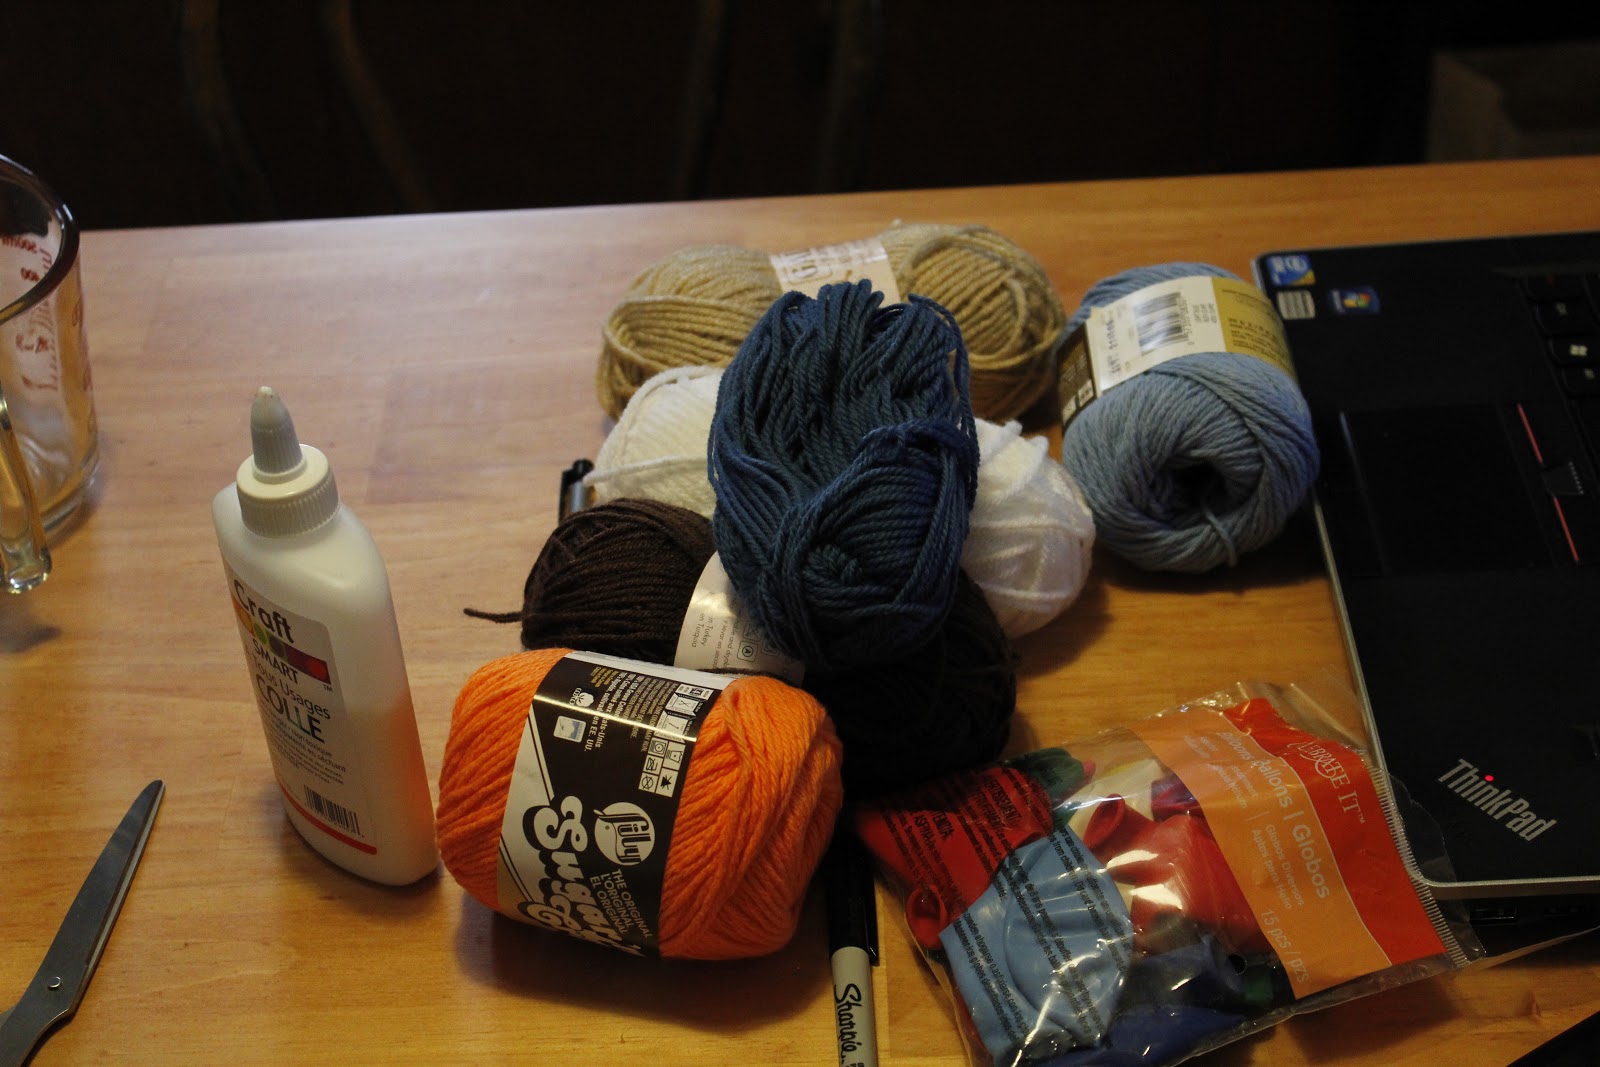
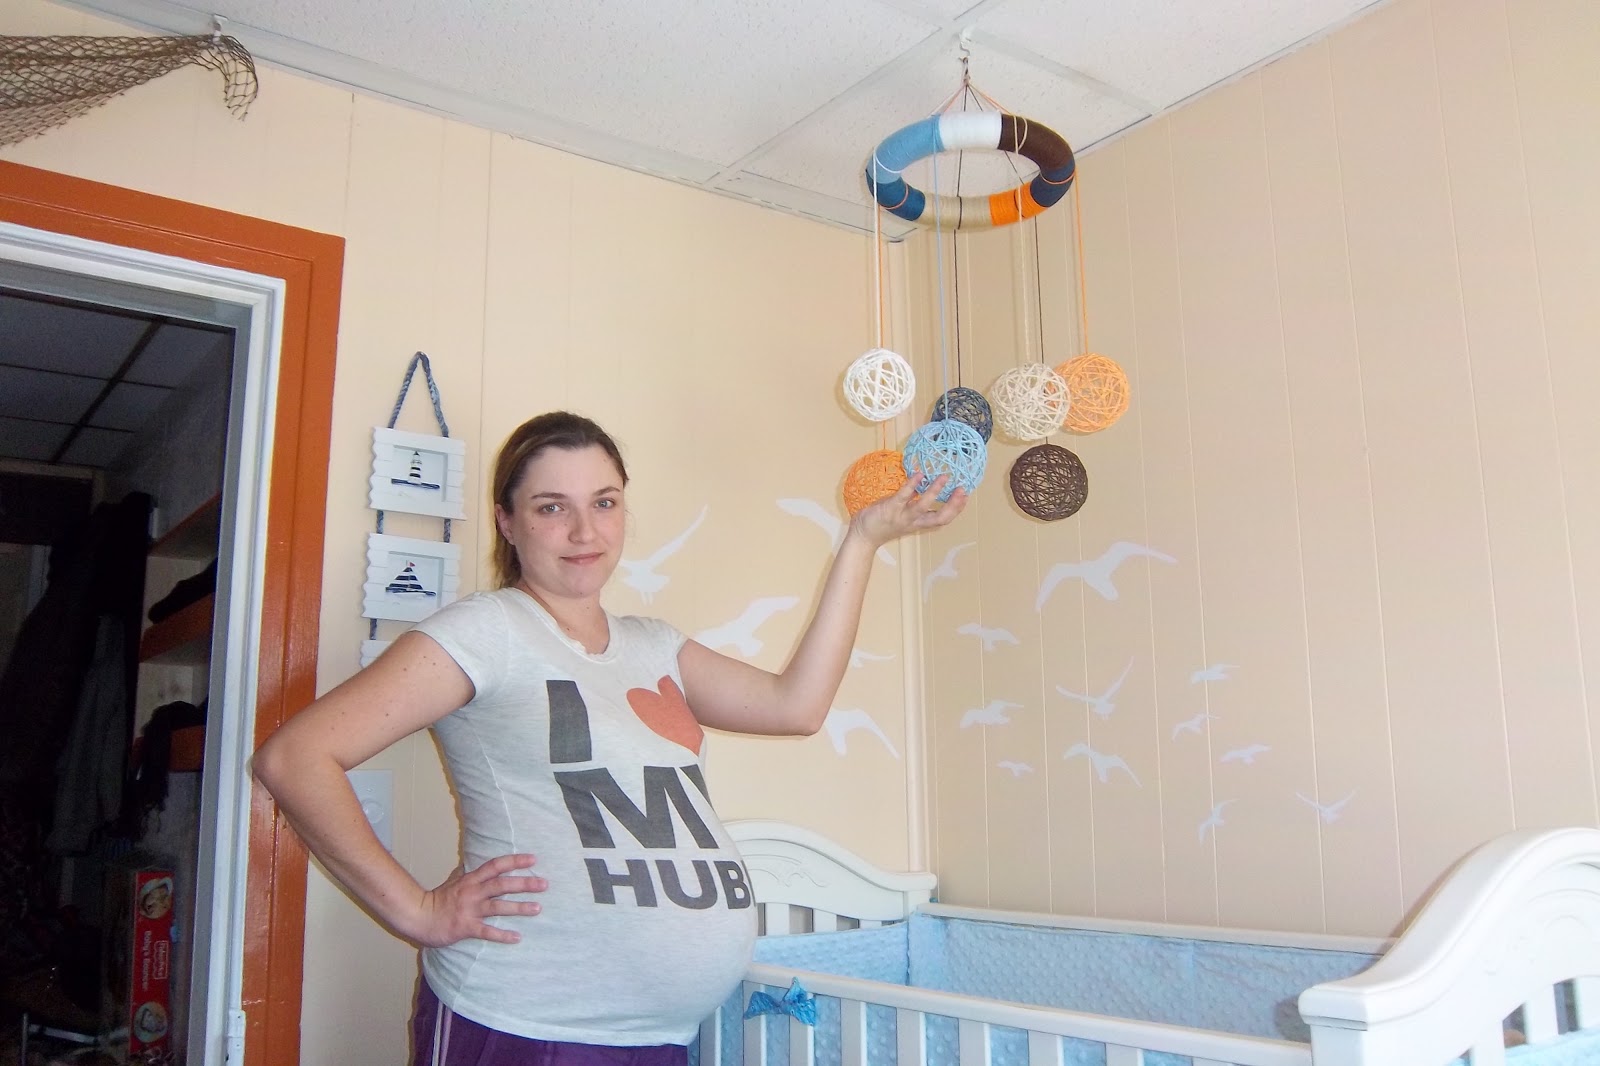
I made this mobile with my mom, when my parents flew here from Ukraine for a visit and to witness  the birth of their fist grandson. Right now my son is almost 9 months old and he still loves the mobile. He won't look up at it much any more but he always starts smiling as soon as I pick him up and let him touch it.

"While still pregnant I came across this cool and easy DIY for Yarn Chandelier...saved the link, as I always do for project I want to try, and when our boy's nursery was almost ready (there was no mobile) I figured why not use the tutorial, alter it a bit and make it into my own design for mobile. So here's my version I was making when I was 40 weeks exactly:


tada!!!

Baby Ethan, when was around 3 weeks, already could see things..so he noticed the mobile. Now (he's almost 2 months) he mesmerized by it and when it stops spinning (which we have to do manually..spinning it with our hand) he demands to make it spin again by crying..as soon as it spins again he smiles with his mouth wide open. The cutest thing ever!"

This was a very fun and simple DIY. The basic idea could be used in so many ways and different projects...

Wednesday, November 28, 2012

Watercolour Wreath

I thought I'd wait until I'm completely done decorating but I can't wait that long haha, so here is a little sneak peak at what kind of wreath I made. 


Basically I painted leaves and lemon/lime with watercolour and glued to a ring. Very simple. A little time consuming but when you have a cool husband who doesn't mind hanging with the teething kid, you'll have time to do a little project at a time. After all it's for us, not just for me ;)


Sunday, November 18, 2012

Swaddle DIY - repost

This is an old post from my other blog that I will be deleting soon.


I was lucky to get a very nice thing for my baby at the baby shower - Swaddleme swaddler that we used and used and used. My kid can't sleep if he's not swaddled because he has the "crazy hands" and always smacks himself on the face and wakes himself up. Unfortunately the thing has it's expiration date if you use it pretty much every night. So I was about to go and buy this ridiculously expensive woombie thing that had a zipper instead of Velcro, which seamed so much easier and it also lets the baby move the arms inside whichever way. BUT...i didn't! I couldn't justify spending $26 + shipping for piece of stretchy fabric with the zipper in the middle. I went in and found some hand-me-down night gowns that we never use and decided to make my very own wommbie. I spend about an hour (I was rushing to make it and test it so it's made poorly but it works) and about $3 on the zipper..and Voila!...Sleeping kid = happy mama :D