
This thing took me awhile and apparently it's not done yet. I was hoping I'll have enough "materials", but when completed, it looks like there's a lot more needs to be done. It is my mini "room" divider or should I say "art corner separator from the rest of our bedroom". When Ethan got old enough crawling and getting into stuff, we had to move my art table with all the stuff into the bedroom, since living room became a play area. Now our bedroom is an art studio, an office and a bedroom. It's ridiculous. Not sure how we fit all this crap into the tiny corner. Anyhow, painting late could be a pain in my husband's behind, because my bright lamp is shining right into his eyes either he wants to sleep or watch a movie. Then I thought making some sort of room divider, that could hang from the ceiling, might help blocking the light and add interesting detail to this boring room. Here's a result of my creation. Please don't judge, haha!
1) I drew LOTS of feathers on the thick paper

2) Cut them all out


3) Found some wood that was left over from DIY lamp my husband did for Ethan's room (but we ended up using a different one)

4) Laid it all out to see how to space them out, and how much distance to leave between feathers (on the floor everything looked promising)

5) Sewed feathers together

6) and *cough cough* ...voila!...it's almost done

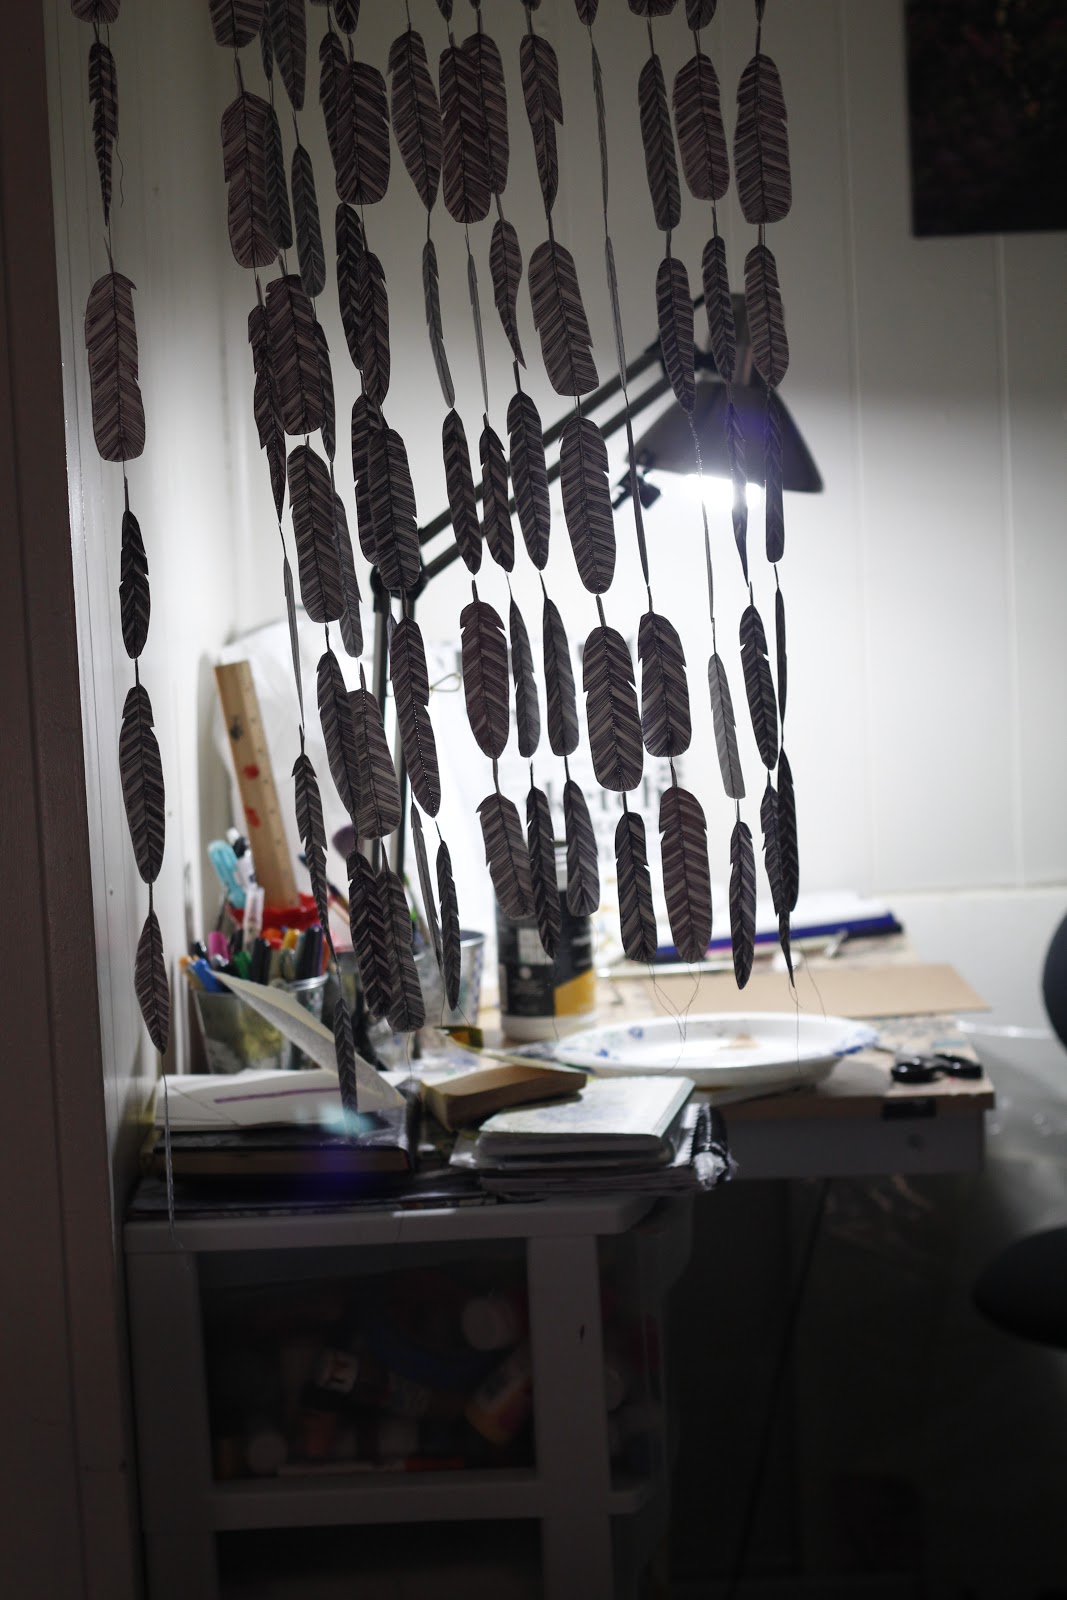
So now I have a sort of room divider and I have no clue what I can add to make it thicker. If you have an idea for me please share and help me finish this DIY project. I also am thinking to spray paint the wood stick with black/grey color.
Your comments make me happy :)
I love the idea of sewing paper together - - I've never tried that yet! What setting was your machine on? Did you need to adjust tension?
ReplyDeleteAs for how to make it thicker, you might consider adding strips of fabric, like muslin. Or a sheer piece of fabric behind it. But I like the way it looks already!
And thanks for the comment on my blog. Your photos are loverly. I'm learning that craftgawker has a certain "look" they're going for, and now, after even more rejections and a few acceptances, I have a better sense of what they're looking for. It doesn't always mean I have the time or ability to capture those images, but I don't let it bug me as much. I recognize that my photos may still be good photos, even if they're not good for craftgawker. And I blog for readers, not for craftgawker. Does that make sense? Keep on keepin' on, girl. Do your thang!
-Lauren
OH! Thanks girl for idea. Definitely fabric sounds like might work best. I didn't use any "special" settings for sewing paper, nor did i change any tension...I know for sure if I'll keep working with paper I'll ruin the needle eventually so if it's something you'll be doing a lot I'd buy an extra needle just for that.
DeleteAs for craftgawker, Im glad i found your post about it. Won't bother with their rejections as much. They are trying to be perfect but ain't no body is :) We do the best we can!